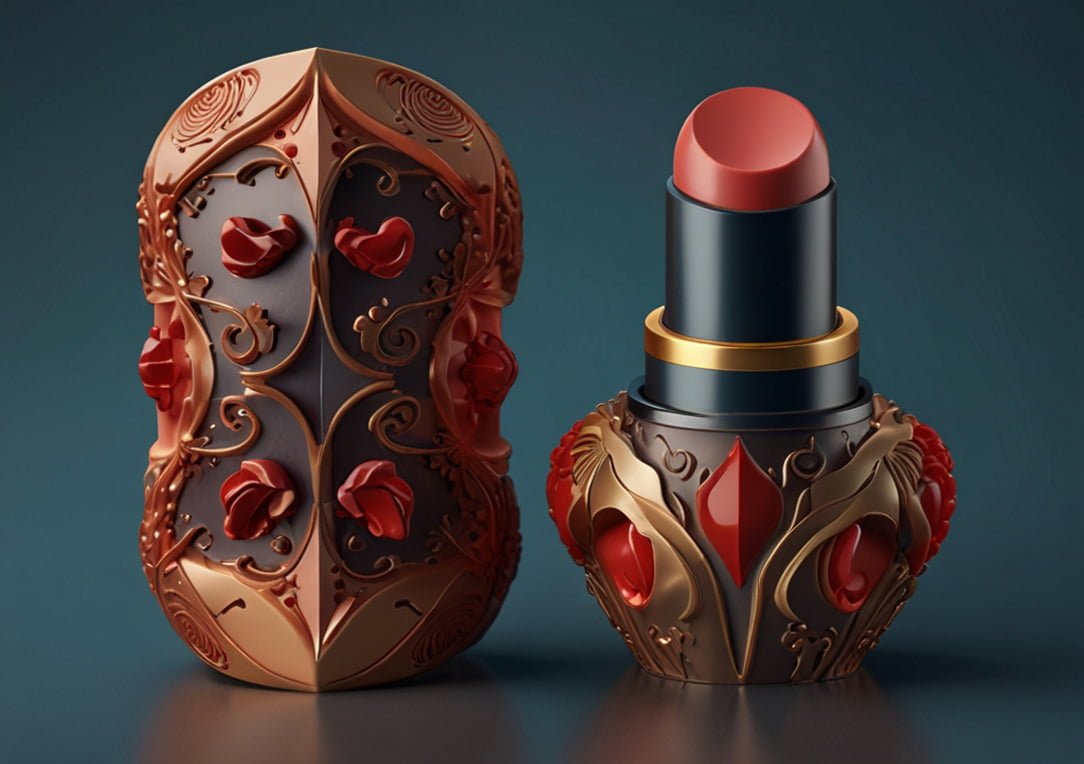
Lipstick mold is a tool used to shape and solidify lipsticks during manufacturing. It allows for the precise casting of lipstick bullets with consistent size and shape.
Crafting the perfect pout begins with a well-formed lipstick, and lipstick molds play a crucial role in achieving beauty enthusiasts’ desired lipstick aesthetic and application. These molds, often made from silicone or metal, are designed to withstand the heat and ingredients of molten lipstick mixtures.
Manufacturers and DIY cosmetic creators alike rely on the precision of lipstick molds to deliver products that not only look professional but also glide smoothly across the lips. With the ever-increasing demand for makeup, the quality and design of lipstick molds have become vital in the production of diverse and attractive cosmetic products, satisfying users’ preferences for flawless lipstick finishes.
How To Successfully Make A Lipstick Using A Lipstick Mould
Creating your own lipstick at home is simple with the right lipstick mold, an essential tool for achieving the perfect shape. Just melt your choice of color, pour it into the mold, and let it set for an exquisite, custom-crafted lip color.
Crafting your own lipstick can be a creative and rewarding process, allowing you to tailor shades and finishes to your personal preferences. Equipped with the right lipstick mold, any budding cosmetic chemist can transform a few key ingredients into a beautiful lipstick.
But how do you leap from raw components to a tube of perfectly molded lipstick? Let’s delve into the process with some practical guidance.

Choosing The Right Lipstick Mold
Selecting an appropriate mold is the first stepping stone on the path to creating your lipstick.
- Variety of Materials: Different molds are made from silicone, aluminum or plastic, each offering distinct advantages. Silicone molds release the lipstick easily after cooling, while aluminum provides consistent heat distribution.
- Size and Shape: Molds come in various sizes and shapes, so pick one that matches the dimensions of the lipstick tubes you have. Standard bullet shapes are popular, but there’s room for creativity.
- Multiple Cavities: Consider a mold with multiple cavities if you intend to produce several lipsticks at once, a time-saving feature indeed.
Preparing Your Lipstick Mixture
Before the pouring begins, a well-prepared mixture is essential.
Creating your lipstick mixture involves gently melting and combining waxes, oils, and pigments. Use a heat-resistant container to blend the ingredients over a water bath, ensuring everything is evenly melted and mixed.
- Consistent Temperature: Pay attention to heat levels; too high temperatures may degrade the quality of your ingredients.
- Pigmentation Level: Adjust the amount of pigment based on the desired opacity or shade of the lipstick.
- Ingredient Quality: Opt for high-grade, cosmetic ingredients to guarantee a smooth and safe application.
Filling The Lipstick Mould
Now comes the pivotal moment: transferring the liquid magic into the form that will define its final appearance.
- Zero Air Bubbles: Pour slowly and steadily to avoid creating air bubbles, which can ruin the smooth finish of your lipstick.
- Filling to the Brim: Ensure each cavity is filled completely to prevent forming a concave top on the lipstick.
- Speed and Precision: Work swiftly but carefully; the mixture starts to solidify as it cools, affecting the final outcome.
Setting And Unmolding The Lipstick
Patience is the name of the game when allowing your lipstick to set and take form.
Allow the lipstick to cool completely, which usually takes a few hours. This patience ensures that the lipstick is solid enough to hold its shape when removed from the mold.
- Thorough Cooling: Place the mold in a cool environment or a refrigerator for a faster set.
- Gentle Release: Carefully push the lipstick out of the mold. Silicone molds offer ease, whereas metal ones may require a slight warming to release the product.
Final Touches And Quality Checks
Your lipstick is almost ready, but it deserves a finishing touch.
Examine each stick for imperfections. Any rough spots can be gently smoothed out with a clean, warmed spatula or knife.
- Mounting on the Base: Secure the lipstick into its tube carefully, ensuring it’s centered and fits snugly.
- Achieving a Polished Look: If necessary, twist the lipstick up and use a heat source briefly to achieve a seamless, polished finish.
Creating lipstick with a mold doesn’t only combine chemistry and artistry; it’s an empowering process that embodies your personal flair into every handmade slice of color. Stick to these tips, and your DIY lipstick will not only look professional but will also glide onto your lips with the grace and vivid color that you designed.
Exploring lipstick molds unlocks a world of beauty possibilities. With the right information, selecting or creating the perfect lipstick is easier. Remember, quality molds shape your lipstick’s precision and finish. Embrace your creativity, keep safety in mind, and let your customized colors flourish.
Your next beauty masterpiece awaits.